With the pods coming down in your opening turn you can surgically strike with the aim of dividing your opponents army, singling out important elements and laying down some fire before your turn is out, the heart stopping moment waiting to determine whether your pod hits the target you need, or scatters either into further danger or, conversely, further away from danger is a definite highlight for the risk-taker in me.
But how can you use the pods effectively and not just waste your armies potential? For me, making a successful drop pod based army relies on three things and we will look at these in turn shortly. The amount of fire power you have walking out of your pods is entirely up to you, I only want to talk about the potential usage and tactics you can employ if you want to go down the route of using drop pods.
Firstly you have to use as many pods as you can possible take, preferably using an odd numbered amount of pods, just to use the special rule that 'half of all drop pods, rounded up, are to drop in the players first turn'. So seven pods in total will see 4 fall in the first turn. If all those pods are full of men, you have potentially 40 power armoured men entering first turn anywhere on the board. If you're playing crazy, that could also be 20 men in terminator armour, or any combination between the two scenarios. I think its fair to say that is a fair amount of fire power to place around the board.
Secondly you have to consider where you are going to attempt to land them and what your objectives are. A singular pod which is dropped in the middle of the enemy will not last much further than its first turn on the table. Of course, if that pod has a special aim like using its melta gun to open up a tank and you don't mind using the troops as cannon fodder, that's all fine, but I prefer to try keeping my guys alive as long as possible. Landing multiple pods close together will increase their individual survivability as your opponent will have more targets to split their fire between, meaning your troops will be taking less damage. The more pods you have drop in one area, the greater their chances of survival are.
 |
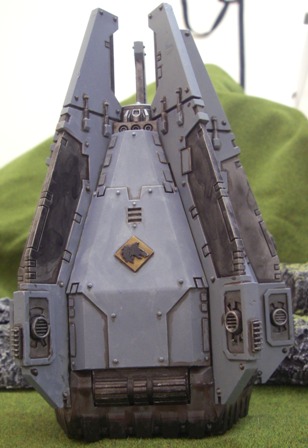
| From Counterfetts blog, All Things Fett. |
This type of army is certainly an acquired taste, but when it works can be devastating. Never drop a pod so that it is left at risk of being isolated and exposed to an angry enemy and always make sure that each pod is adequately supported by other pods, bikes or speeders, heavy weapons squads and tanks or outflanking scouts and this type of army can be lethal to your opponent. Let me know your thoughts on drop pod armies and how you make them work.


No comments:
Post a Comment
Thanks for your comment it is very much appreciated. I hope to hear more from you in the future!